Detailing the engine bay is one of the easiest parts of your car to clean. But many car owners take it as a tough job, which may damage something under the hood. However, the modern engine bays are built with protection and proper care. Another factor is how long does it takes to detail an engine bay.
Most people skip engine bay cleaning because they think it takes too much time or skill. But cleaning the engine bay is safe and easy with basic tools. You can clean it within 20 to 45 minutes without much trouble. But when and how to complete it? Learn the guide!
When You Should Detail Your Engine Bay
Regular car care helps a lot in keeping your engine bay clean. When the hood is clean, it is easier to check fluid levels and spot problems. However, if you keep or leave this space open, it can get messy fast. This dirty part can damage parts and lead to wear.
People often ask when to detail the engine bay. Our experts advise cleaning your engine bay every three to six months. Moreover, it depends on how often and where you drive. This part of your car does important work, so it’s worth the time to keep it in good shape.
The first clean-up might take more effort, but the next ones will be quicker. We at Izzy’s Auto Detailing suggest you use separate cleaning tools just for the engine area to avoid dirt and grease from spreading to other parts of your car.
With simple steps, you’ll be surprised at how a new engine can look again. It is a smart investment with the use of basic tools like a soft brush, degreaser, a cloth, and some protectant. Follow the methods to detail your engine bay within almost 45 minutes.
Step-by-Step Guide to Detailing Your Engine
Detailing your engine might look difficult but it’s actually a job you can do yourself with the right steps. Various things make your engine dirty and harder to maintain over time. Here is the step-by-step guide for you to clean your engine the right way.
1. Preparation: Get Your Engine Ready for Cleaning
A cool engine is necessary before you begin the cleaning, because a hot engine can cause damage or even burns while cleaning. Start the process
- Remove loose leaves or dirt with a soft brush or by hand.
- Gently rinse the area with a garden hose or pressure washer at a safe distance
- Cover exposed wires, air intakes, and battery terminals.
- Use plastic bags or covers to protect them.
In this way, you can prepare your engine and prevent any electrical issues while you clean.
2. Cleaning the Engine Bay: Degreasing and Dirt Removal
Once rinsed, it’s time to clean the engine bay.
- Spray a degreaser or all-purpose cleaner (APC) on all the dirty areas.
- Leave it for a few minutes to loosen up the grease and dirt.
- Avoid the degreaser touching the car’s paint to keep wax or protective coating safe.
- When a product is settled, use a detailing brush to gently scrub the surfaces.
- Focus on areas with visible grime or oil buildup.
This step helps lift the dirt. Furthermore, you can rinse it away easily in the next step.
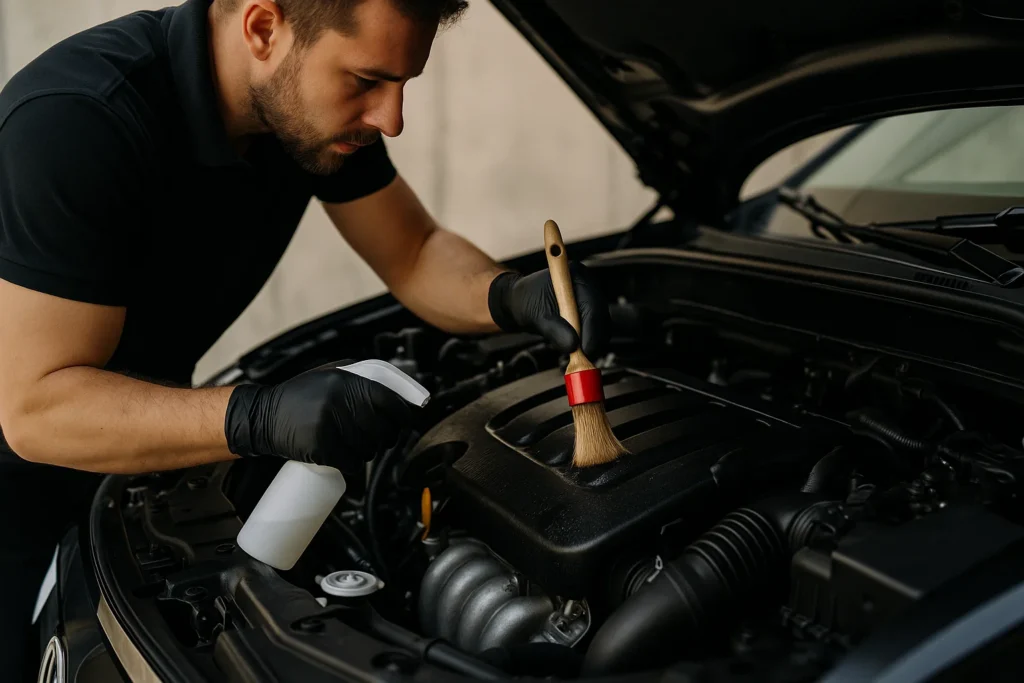
3. Brushing the Hard-to-Reach Areas
Some spots in the engine bay are tight and hard to reach. You have to work a little harder to handle it.
- Clean the areas between wires, behind parts, and around plastic covers with a long-handled brush or a small detail brush.
- Keep special brushes to clean areas that a cloth or sponge can’t reach.
- They don’t spread grease or dirt to other parts of your car.
Don’t rush these steps—take your time here gives better results.
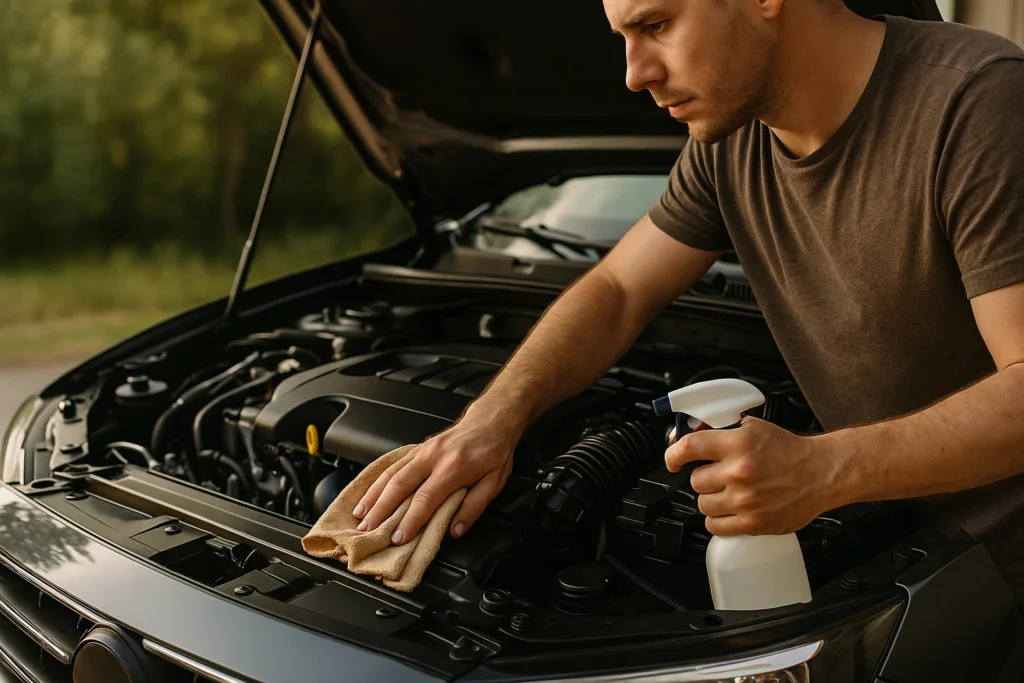
4. Rinsing and Drying: Ensuring No Water Gets into Sensitive Parts
Once you have done with scrubbing, gently rinse the entire engine bay again.
- Focus the water stream light for a short time.
- It is one of the best ways to avoid water from pushing into sensitive parts like electrical systems or connectors.
- Now dry it or use a microfiber towel to soak up the water.
- Use compressed air to blow out water from tight spots.
- Once dry, remove any covers you added during preparation.
This is an essential step to ensure no water gets into sensitive parts.
5. Protecting the Engine: Applying a Protective Coating
Once the engine bay is dry, it’s time to protect the surfaces.
- Use rubber or vinyl protectant on plastic covers and hoses.
- This prevents cracks over time and keeps them soft.
- Choose a product that can handle high engine heat.
- Apply a spray sealant for painted parts under the hood.
- Avoid using regular wax, as it won’t last in the hot engine area.
A good protectant keeps your engine looking great and helps it last longer.
6. Final Touches: Giving Your Engine Bay That Polished Look
After applying the protectant, clean everything with a clean microfiber cloth.
- Buff the surfaces lightly to bring out the shine.
- This last step adds a fresh and polished look to your engine bay.
- Take a moment to check that everything looks neat and dry.
A clean engine bay makes it easier to spot leaks or damage in the future. Now you can admire your clean, shiny engine compartment.
Engine Bay Detailing for Different Engine Types
The engine bays are quite different, depending on the type of engine your car and correspondingly, the detailing approaches should be adjusted.
- Gasoline Engines: Gasoline engines are sensitive to degreasers and should be carefully rinsed away but electrical connectors and sensors should be handled with care.
- Diesel Engines: The diesel engines are more likely to produce soot and buildup of grime, which will need stronger degreasers and greater cleaning efforts. The turbochargers, exhaust systems, etc, may require special consideration. This is because higher heat produced by diesel engines requires the materials to be dried fast to avoid corrosion.
- Electric Vehicles (EVs): Electric motors contain fewer moving parts but have more complicated electrical systems, battery packs and cooling systems that require special attention when cleaning. Contact with water should be avoided and only mild non-corrosive cleaning chemicals should be used to protect sensitive parts. A lot of professionals say that EVs require the least amount of wet cleaning and use dry wiping and products that are safe on electronics.
Learning about the differences can assist in making sure that the cleaning products and methods that are employed do not unintentionally cause damage to the engine bay and shorten its lifespan. Gasoline engines, diesel or electric, correct engine bay detailing will preserve peak performance and appearance according to the type of engine.
Professional Engine Detailing: When to Hire Experts
Knowledge and Special Equipment
Professional engine cleaners have experience and specialized equipment that gives an in-depth and safe clean. Their expertise prevents them from destroying delicate electrical parts and makes them clean all the nooks and crannies.
Peace of Mind and Prevention
When you are not confident about the health of your engine bay or worried about damaging something, professionals provide confidence. They can detect problems early, such as leaks, wear, or corrosion and this can save you some hefty repair bills.
Dealing with a complicated or aged engine
Older or highly engineered vehicles can be very sensitive and may need professional attention. The professionals are trained to clean these engines in an effective manner without causing harm.
Time and convenience
In the event you do not have the time, equipment, or confidence to clean your engine bay yourself, paying someone to do it is a convenient and worthwhile investment that will leave your engine bay clean and covered.
Conclusion
In conclusion, detailing your engine bay is not a big job. You can make your engine look fresh with just 20 to 45 minutes. You can do it simply the right way with the right tools. So don’t skip it! A clean engine bay not only looks great but also helps you keep your car in good shape for the long run.
FAQs
Common cleaning of engine bay takes 45 minutes. However, detailing including washing the outside, vacuuming the inside, and doing small touch-ups takes about 2 to 3 hours. Moreover, If you go for a full detail with deep interior cleaning, waxing, and polishing, it can take 4 to 5 hours or more.
Yes, it’s worth it. The maintenance process becomes more accessible when your engine bay remains clean while you can easily detect oil leakages. The clean engine bay appearance adds value to your vehicle while improving its marketability for future sale.
Engine detailing removes all dirt, as well as grease and grime from engine areas. Engine protection from rust and damage occurs through this process. Regular cleaning of your engine helps both its operational efficiency and increases its lifespan.