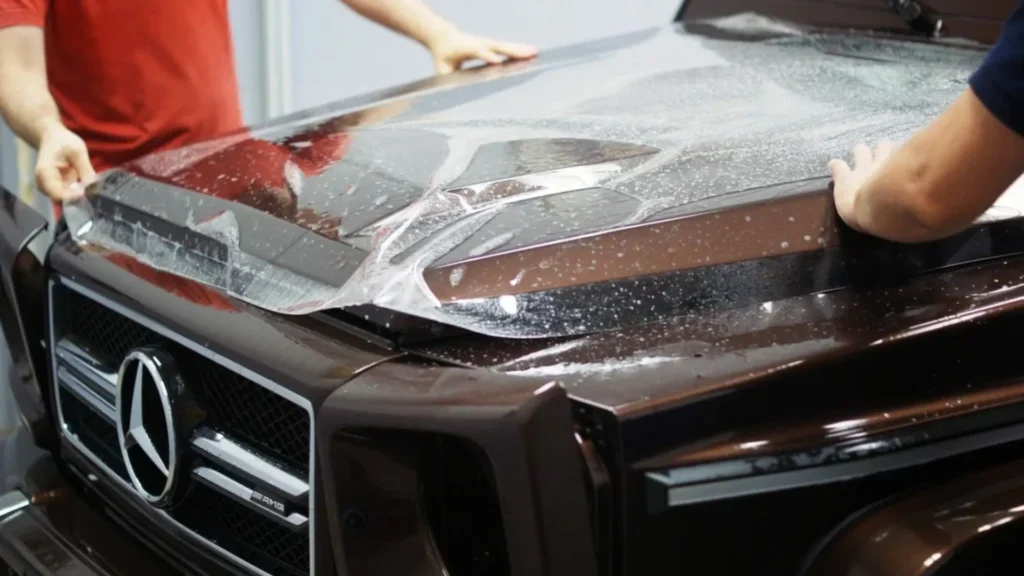
Paintwork is just one aspect of car detailing; the other is protecting it. The clear coating on your vehicle is a transparent protector that protects your color and prevents the elements from causing harm. But what can you do if it isn’t thick enough to polish or restore safely? Before cleaning your car for the first time, most people overlook the need to examine the clear coating. This essay will show you the precise techniques to determine your clear coat so that you can provide your automobile with the reassurance it needs while preventing expensive paint jobs.
What is a clear coat?
A clear coat is a transparent and enhanced protective paint. It is sprayed over the colored base coat. It performs two functions in that it enhances the visual appearance by having a shiny, glossy finish and forms the outermost protective barrier, preventing the conditions from affecting the paint beneath it. It preserves the paint of the car and ensures your car’s paint is looking and working the way it was originally designed. Most cars have clear coats today.
Signs Your Car’s Clear Coat May Be Wearing Thin
Look for these quick signs your clear coat is fading:
- Fading or dull paint losing its shine
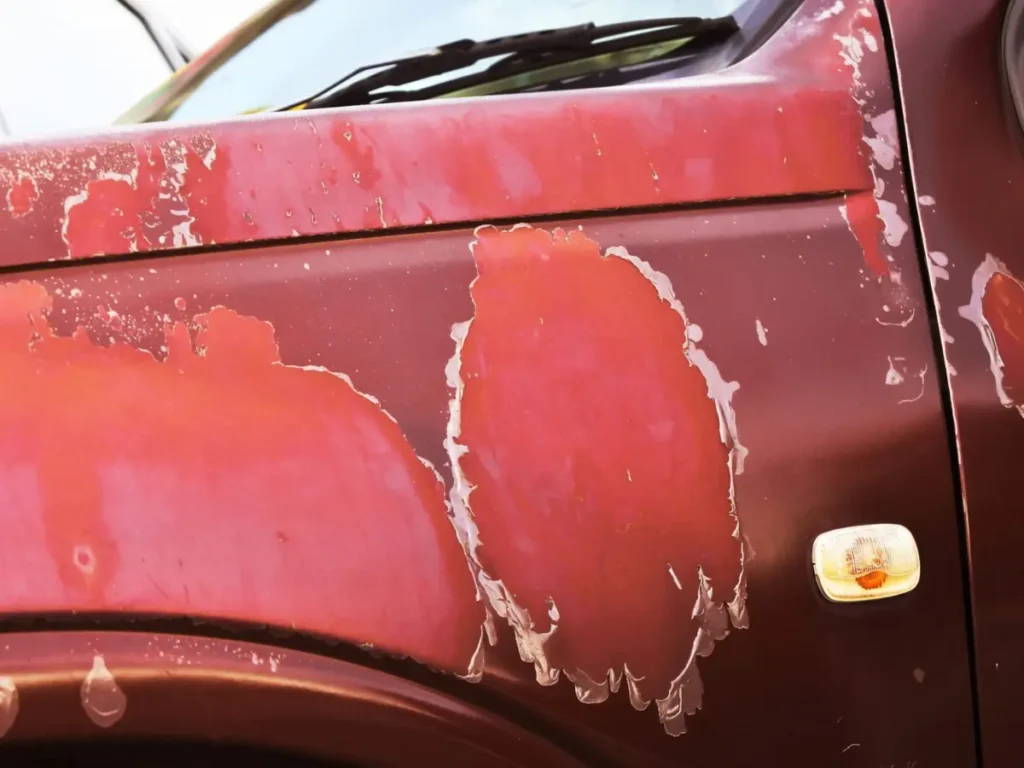
- Peeling or flaking clear coat
- Hazy or cloudy surface
- More visible fine scratches and swirls
- Rough or uneven texture on the paint
Check the Clear Coat of your Car while Detailing
Check your vehicle’s clear coat during detailing by:
1. Visual Inspection: Look for patches of dull, faded, or cloudy paint, as this could mean oxidation or clear coat damage.
2. Apply a Polishing Compound: Once cleaned and dried, test a small, unwaxed area of the exterior with a suitable rubbing or polishing compound. If your applicator is yellow or grey, you can fix oxidized clear without needing to take it to a body shop.
3. Check for bare paint: If your polishing compound reveals a lot of paint color, the clear coat has failed.
4. Surface feel: Run your fingers lightly over the surface of your paint. Bumps, streaks, or bruised glass may indicate clear coat damage.
5. Paint Thickness Gauge: An expert tool to see how thick clearcoat layers are on a vehicle can also reveal inconsistencies or damaged sections.
Consistently check the clear coat during wash and detail work. Leave clear coat evaluation and repair work to professional auto detailing shops or body shops.
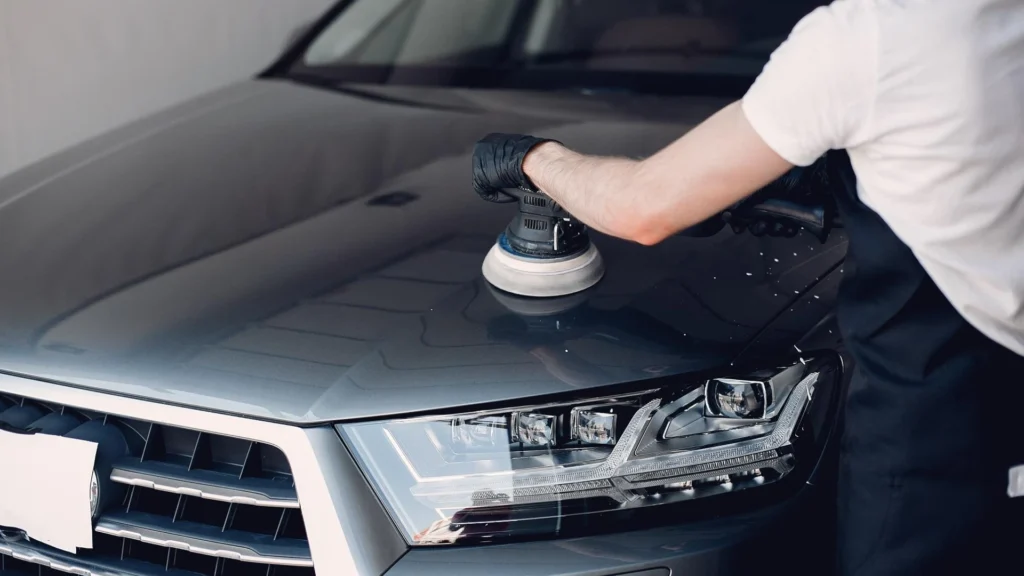
Safe Correction vs. Over-Correction
Correcting your car’s paint improves shine without damaging the clear coat. Over-correction removes too much clear coat, risking paint damage.
| Factor | Safe Correction | Over-Correction |
| Polishing Type | Light compounds, soft pads | Aggressive compounds, hard pads |
| Tool Pressure | Moderate, controlled | Heavy, excessive |
| Clear Coat | Minimal removal | Excessive removal |
| Risk | Low | High |
How to Use a Clear Coat Thickness Gauge
Using a clear coat thickness gauge is essential for accurately assessing your car’s paint condition.
Prepare Your Gauge and Surface
Firstly, make sure that the batteries in your car clear coat thickness gauge are fresh and that the device is switched on before beginning. Subsequently, clean the area of measurement on your car to remove any dirt or oils that may interfere with the process. When using an ultrasonic gauge, apply a small amount of water or gel to serve as couplant on the surface to ensure efficient transmission of the ultrasonic signal.
Calibrating the Thickness Gauge
Calibration must be performed before use. As required, the first preparation is to place the probe on the uncoated ferrous calibration block, and subsequently, to signify the zero point. Next, repeat on the non-ferrous calibration block to ascertain that the device is zeroed for different metal substrates. Placed the calibration block as well as the shims of plastic known thicknesses of the substrates on these blocks to verify that the device is reading within required tolerances.
Checking Clearcoat Thickness
Position the probe horizontally and on top of the car’s surface at a 90-degree angle, and push it down quickly. When the gauge starts to beep or shows a consistent value, record the measurement you can see. For ultrasonic personnel, confirm that adequate couplant flows between the probe and the surface; they may become scarce during measurements.
Multiple Values for Accurate Evaluation
Repeat the procedure at multiple spots or nearby sections of the same panel. Between three to five readings are enough to ascertain the exact average thickness.
Cleaning and Maintenance After Use
After taking readings, you should clean the probe tip and the areas measured on the car surface to remove any remaining couplant or debris. Keeping the gauge clean and not subjecting the probe and car surfaces to avoidable contamination ensures that your gauge remains accurate.
When to Recalibrate Your Gauge
Recalibrate your thickness gauge every time you insert new batteries, shift between different types of metal substrates, or detect reading inaccuracies. Calibrating your gauge regularly is necessary for the continual and accurate measurement required for safe detail.
How Clear Coat Condition Affects Polishing and Paint Correction
The thickness and quality of your car’s clear coat play a crucial role in how you should undertake polishing and paint correction. If the clear coat is excessively thick and has yet to be properly or harshly corrected, aggressive polishing with chemicals and other elements would no longer be dangerous. However, if the clear coat is thin or has yet to be properly stripped due to previous polishing, harsher polishing will be considered aggressive. It is likely to drip right through the coating, damaging the paint and requiring costly servicing. That is where the paint thickness gauge plays a major role. The best approach is to check the thickness of the coat first. The thinner the coat, the more vigilant and careful you should be. If the coat is very thick, you likely have more leeway.
How to Prevent Future Clear Coat Damage
- Wash by hand with pH-balanced shampoo, not a harsh automatic car wash.
- Dry with a soft microfiber towel to avoid water spots.
- Apply a sealant/wax to protect from UV, contaminants.
- Park in the shade to prevent direct sunlight.
- Regular detailing, claying, polishing, fixing chips, and scratches quickly (to prevent peeling of clear).
- Use gentle polishing and monitor clear coat thickness to avoid over-polishing.
Conclusion
To summarize, keeping the clear coat of your car healthy and functional is needed to maintain its appearance and retention value. Regular checking and good detail can save you expensive restoration bills and keep your car shiny and presentable all the time. Inspection is needed to know early which areas need restoration and protection to ensure that the car remains beautiful and valuable. Izzy Auto Detailing is a standby provider of expert clear coat looking and detailing services.
FAQs:
A clear layer is applied atop the paint to preserve the color and make it glossy.
To identify any damage early enough and rectify it before it escalates
Look out for rough texture, dull spots, or peeling on the paint.
Yes, you can identify problems using proper lighting and polishing in a small area.
A machine that measures the thickness of the clear coat to determine the paint’s health
Regularly inspect