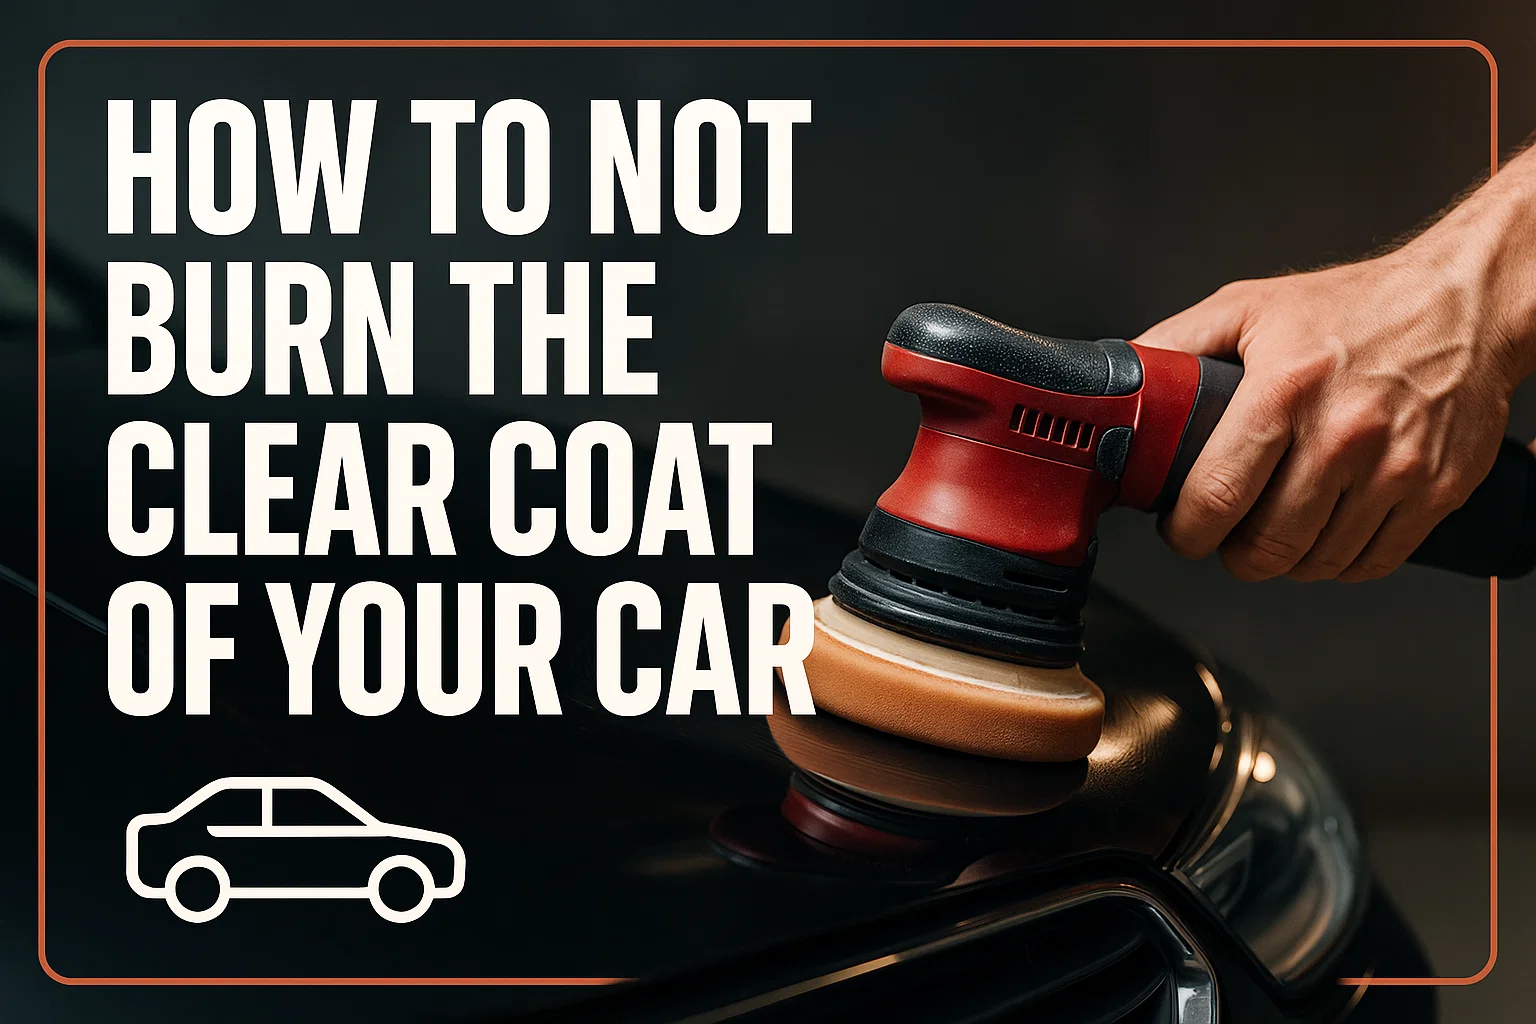
Protecting your car’s clear coat is essential to keep its paint looking glossy and new. It is significant in ensuring that the car’s paint is glossy and appealing. Clear coat burning can be caused by generating excessive heat during the polishing or compounding process. Learn this guide you on how to avoid the risk and burn your clear coat while still making your car have the desired glitter. Having the necessary knowledge of the tools, speed, and the right technique, you can maintain your car’s glossy look without spending a lot of money the repainting to correct burning mistakes.
What Causes Clear Coat Burn
Clear coat burn occurs mainly due to the heat produced during polishing or compounding. High buffer or polisher speeds, placing the tool in one place for a long time, using abrasive compounds and pads, cause friction, and the temperature becomes higher than required. Polishing while the car surface is hot or under severe temperatures or exposure to the sun and inadequate lubrication can easily damage your vehicle’s paint. Uncategorized force and poor technique concentrate heat, thinning your clear coat and eventually having to get a professional to repaint the damaged area.
Early Warning Signs You Are About to Burn the Clear Coat
Spotting early signs of clear coat burn helps you avoid permanent paint damage during polishing or compounding. Watch for these warning signals:
1. Excessive Heat Build-Up
2. Becoming Too Glossy or Transparent
3. Haze or Smoke Appearance
4. Visible Pad Discoloration or Paint Transfer
5. Uneven Surface Texture or Spots
6. Strong Chemical or Burning Smell
How to Repair Burned Clear Coat
Assess the Damage
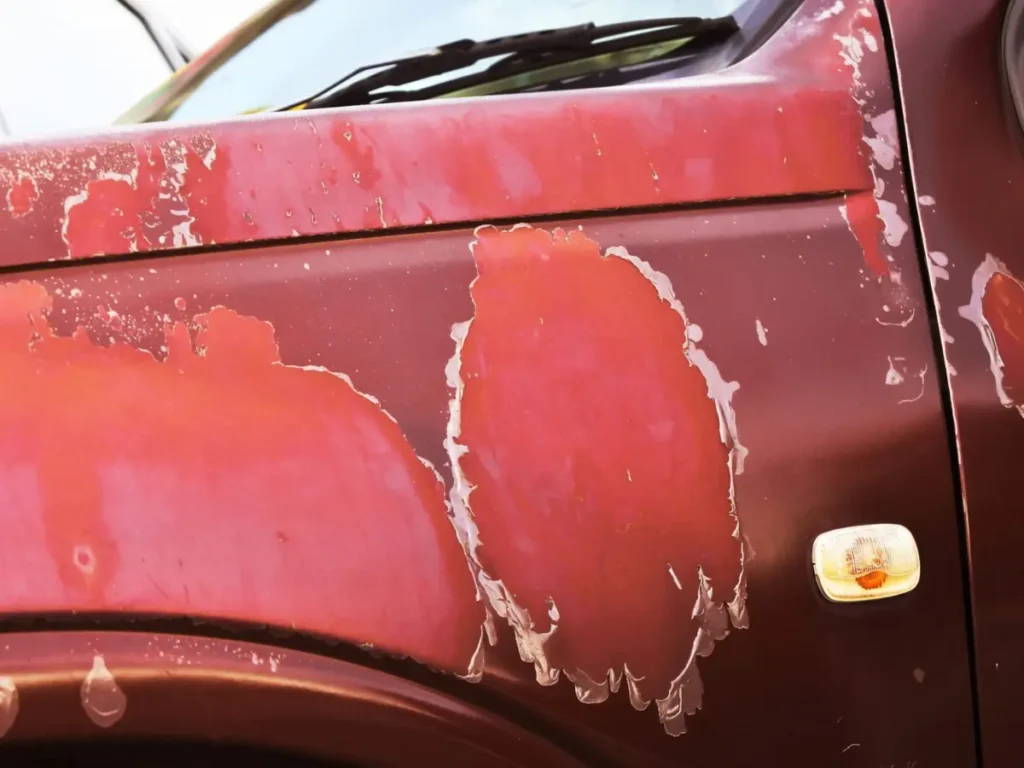
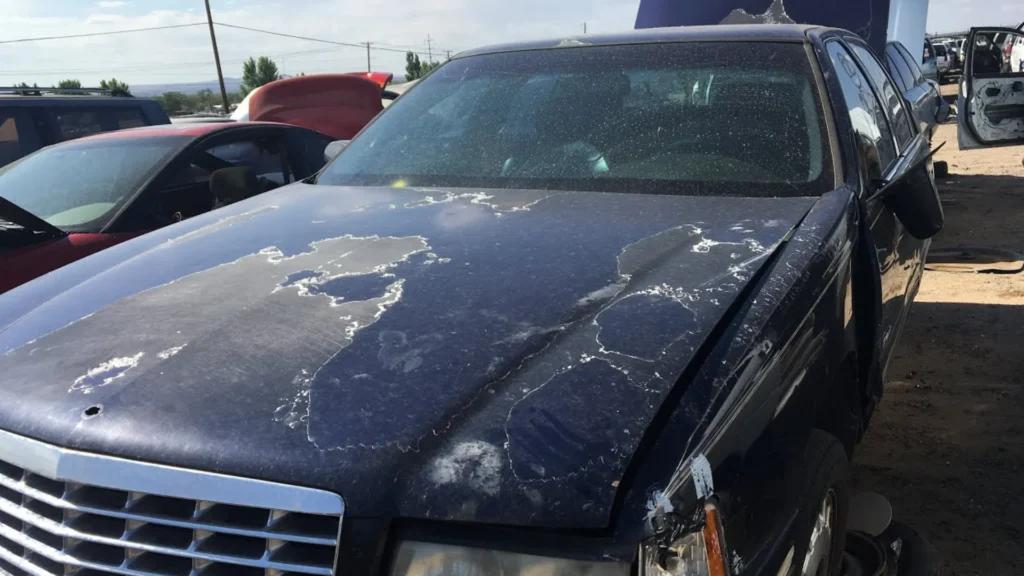
First, one needs to assess the extent of clear coat burn. Light burn can manifest as a haze or dullness, while severe damage is visible as clear coat melting or complete paint exposure. In some cases, minor clear coat damage may be repaired at home; however, severe burn will necessitate professional repainting.
Clean and Prepare the Area
Wash the affected area and carefully remove dirt and grease. Use a clay bar to eliminate embedded contaminants and prepare a smooth surface for repair.
Sand the Burned Spot
Carefully wet sand the burned clear coat with fine-grit sandpaper 1500-2000 to smooth rough edges and integrate burned spots. Take caution to avoid sanding through to the paint layer beneath.
Apply Touch-Up Clear Coat
For small burn spots, use a spray or brush clear coat designed for automotive finishes. Apply multiple even layers following the manufacturer’s instructions for drying time, gap between coatings and avoiding thick coats that may cause runs.
Wet Sand and Polish
After applying clear coat (usually 24-48 h), sand the sanded areas with 2000+ grit paper to integrate the repair into the surrounding paint. Polish the area with fine polishing compound to restore shine.
Fin Protection
Once the repaired clear coat is integrated and polished, apply several layers of finishing wax or paint sealant to protect the fresh clear coat and keep it glossy.
How to Prevent Clear Coat Burn During Polishing
- Use the Right Polished: Use a dual-action DA polisher instead of a rotary buffer, particularly as a beginner. DA polishers generate less heat, thus less chance of burning through the clear coat.
- Control Your Speed: When polishing, maintain a moderate or low speed, typically ranging from 1200 to 1400 RPM. High speeds produce excessive friction and heat. This implies that the possibility of clear coat burn increases.
- Keep the Polisher Moving: Never let the polisher pause. Frequently move it in various passes to distribute the heat uniformly and protect any single part of the hot spot.
- Choose Appropriate Pads and Compounds: Ensure to use polishing pads and compounds that match your car paint status; aggressive compounds generate and create more heat, and hard pads. Always employ soft pads and fine compound if not sure.
- Work in a Cool, Shaded Area: Never polish in the sun or on a sun-soaked panel. Polishing and sun heat soften the clear coat, causing burning.
- Use Correct Pressure: Keep the pressure moderate and constant. Pressing too hard generates increased friction and heat dissipation, while little or no pressure reduces the polishing power.
- Take Breaks and Monitor: Make sure you pause regularly to allow the area to cool down and constantly monitor the progress, so as not to overwork the section.
- Use Lubrication and Clean Pads: Ensure to apply polish or compound as a lubricant and always ensure your polishing pad is clean. A dirty pad causes friction hotspots that potentially cause burning.
When to Seek Professional Help
If the burn occurs over large areas and paint is exposed, professional repainting of this panel is mandatory. Professions will prepare, color match, and clear coat for a seamless finish and increased protection.
How to Protect the Clear Coat After Polishing
After polishing, it should be followed up with a carnauba wax, synthetic sealant, or a hybrid of both to protect the polished surface. Wax gives the paint depth and shine while sealing off the polished clear coat from the sun’s ultraviolet rays, moisture, and environmental pollutants. Sealant is a long-lasting alternative to wax that provides a shield of protection.
Consider Ceramic Coating
A ceramic coat is ideal for long-term paint protection. A ceramic coat creates a chemical bond with the clear coat and creates a robust hydrophobic shell that repels water, dirt, and pollutants. They are pricier than the other alternatives at purchase but last longer, which makes their maintenance easier.
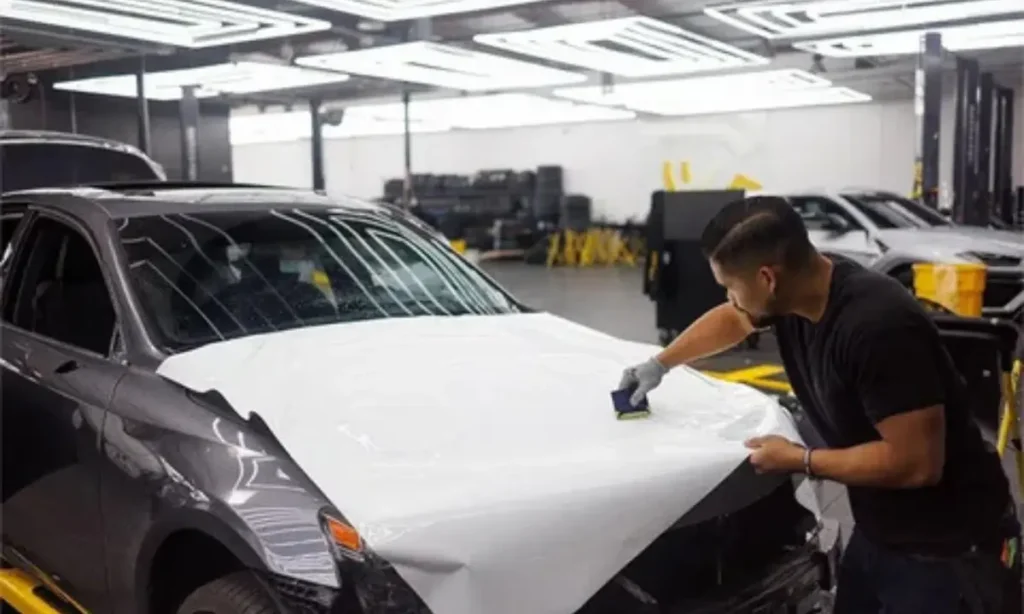
Apply Paint Protection Film on High Impact Areas
Paint protection film is an undetectable, nearly invisible layer of protection applied to high-impact or damage-prone areas such as bumpers and hoods. This helps avoid dings and scratches as it protects against rocks and UV rays.
Regular Washing with the Right Products.
Routinely wash your vehicle with pH-balanced shampoos and soft mitts. Appropriate washing eliminates environmental tar and particulate matter without removing the protective layers on your clear coat.
Park in a Shaded Area or Use a Car Cover
Limiting sun exposure helps prevent UV damage and fading. Whenever possible, park in shaded areas or use a cover to protect your finish.
Schedule Periodic Detailing
Professional detailing every 6-12 months, including claying, polishing, and resealing, maintains a fresh and protected clear coat surface.
Conclusion
Your car’s shine and gloss depend on keeping your clear coat intact. Learning to prevent clear coat burn during polishing and knowing how to fix it will keep your car polished and shining for a lifetime. These steps are to be followed whether you are a DIY enthusiast or enjoy professional car polishing. Any care you personally invest in these steps will protect your car’s appearance and life journey. For expert advice in protecting your car and exclusive services tailored to your vehicle, contact Izzy’s Auto Detailing.
FAQs
This refers to damage to the protective clear coat layer by heat produced during polishing.
If the car overheats, shine glassily, hazing, produces smoke, and causes pads to discolor and burn a bad odor.
Use correct tools and speeds, keep the polisher moving, polish in shade, and take cooling breaks.
Minor can be fixed through sanding, clear coating, and polishing, while severe requires professional repainting.
Apply wax, sealer, or ceramic spray to maintain the clear coat.
It’s recommended to polish your vehicle after 6-12 months; frequent polishing may damage the older clear coat.