Having an RV is a bit like having a home that’s always in motion. Maintaning a clean RV is a must, be it for an extended vacation or just a weekend getaway.
But few RV owners consider how important it is to wash their rigs, often dismissing it as a cosmetic concern. In truth, if you are going to wash RV in the wrong way, you may even spend more money for repairs and later a shorter life span for your vehicle. Learn how to wash an RV like a pro with this guide:
Why RV Maintenance Matters- This Is How 85% of RV Oner’s Get it Wrong

Most RVers don’t wash their RVs properly, is the shocking thing! From using the wrong cleaning products to not adequately scrubbing problem areas to not drying their RV properly, these mistakes can lead to long-term problems.
More RV owners are choosing professional washes, now that mobile RV washing services are on the rise. But a DIY job, when it’s done right, can save you money and make you more invested in the state of your vehicle.
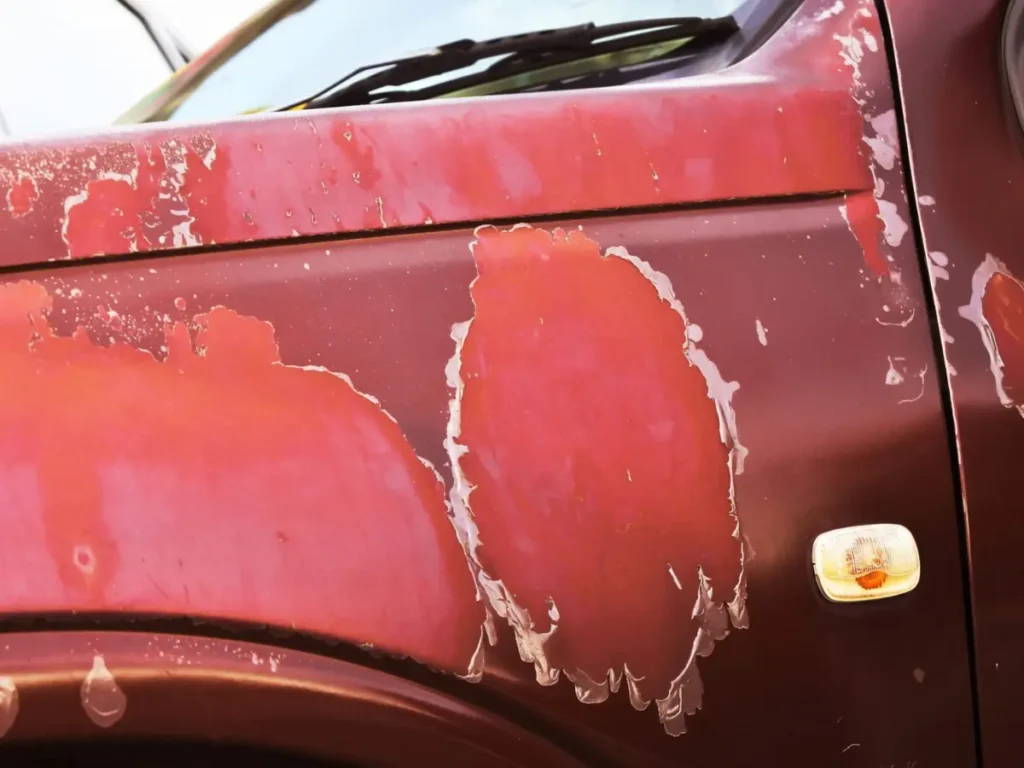
Though a lot of RV care guides list the basics of washing, they tend to leave out key points such as waxing or ensuring the RV is dry to prevent water spotting. And, they don’t stress that it matters you use the right products. Typical car wash soap and even dish soap can be a bit too abrasive for your RV’s paint.
Pro Tip Many RV owners avoid waxing altogether, but failing to do so is one of the best ways to protect the vehicle from enduring long-term damage. It also helps with future washes because it keeps dirt from sticking so easily.
Steps for RV Washing the Professional Way
Step 1: Get the Appropriate Tools
Before you even begin to wash your RV you will want to have the right tools. Here is a checklist of what you’ll need:
- High pressure hose (adjustable is best)
- Ultra-gentle microfiber cloths & brushes for a scratch-free shine
- RV-specific soap (not any old dish soap)
- Brush with long handle to reach far-interior spots
- Squeegee(or microfiber towel)for drying.
- Tire cleaner and wheel brush
Pro Tip: Owning the proper cleaning products and tools is going to be the difference maker when it comes to preserving the paint and finish of your RV.
Step 2: Rinse the Rv Thoroughly
Most importantly, you’ll want to start by washing the entirety of your RV with the hose. This takes off dirt, dust, and debris that could scratch the paint when you scrub. Begin at the top and work down, making sure the entire surface is wet before soaping.
Before: Scrubbing with the dirt still on the surface.
After: Clean surface to be deep cleaned.
Step 3: Use the Right Soap
Ensure you’re using an RV-specific soap. Using regular car wash soap or even dish soap can wear away the wax finish and harm your paint surface over time. Stick to a gentle-yet-effective RV-specific wash. Work soap into your brush or sponge in circular motions.
Before: Regular dish soap and harsh chemicals.
After: RV specific soap that is gentle on surface but protects the exterior.
Step 4: Wash from Down To Top
Begin cleaning the RV from its top side and gradually moving down. This prevents dirt and soap from dripping onto the places you’ve cleaned. Use a microfiber sweeper or mop to scrub the walls and ceiling, ensuring it gets into all of the crevices.
Pro Tip: Don’t use turpentine or other abrasive materials, as they could scratch. Soft microfiber brushes are always the best.
Step 5: Clean the Wheels and Tires
It’s a good idea to clean the wheels and tires before you clean the rest of the car, because you can use those tire cleaner suds to scrub the lower edge of your car doors in a later step. Wheels and tires are typically one of the dirtiest components of your RV. Scrub well, with a separate cloth or brush to get all the brake dust, gunk and dirt off of them.
Pro Tip: Use a specialized tire cleaner to bring back their sheen and protect them against the elements.
Step 6: Rinse and Dry the RV
After you scrub the whole rig, rinse the entire RV again with fresh water. Dry the surface with a microfiber towel or squeegee after rinsing. This is the key to avoid spots and streaks. Do remember to dry everything including windows and mirrors.
Before: Letting the RV air dry and dreading water spots.
End result: Bone-dry RV with zero streaks or water spots.
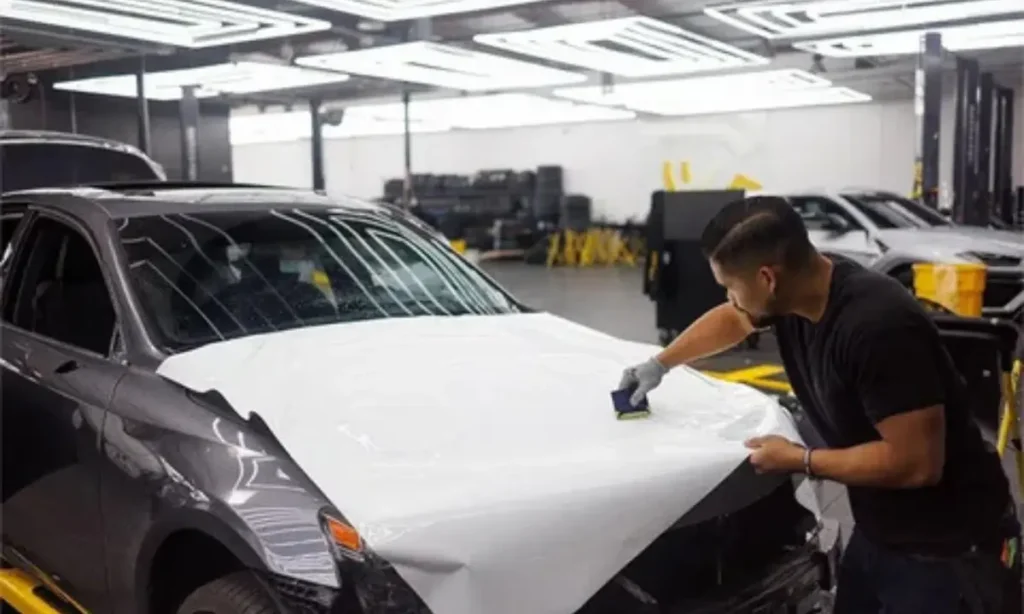
Step 7: Apply Wax or Sealant
It is a good idea to use wax or sealant to guard your RV from the elements. RV wax is also good for keeping the paint intact and adds a glossy texture to it. It also adds an extra shield to keep out dirt, UV rays, and rain. Use the wax by following the directions and buff the surface for a high shine.
Conclusion
Properly cleaning your RV is about more than just looks—it’s also about keeping your investment maintained for years to come. If you use the proper tools, perform the right steps, and take the time to shield the exterior, you’re guaranteeing that your RV is in perfect state. However, don’t forget, regular cleaning not only keeps your RV looking pretty, it can also prevent long-term damage that may require costly repairs. So, elevate your tools and get started ,enjoy a clean RV for years to come!
FAQs
You should wash your recreational vehicle every 4-6 weeks, if you are using it. If your RV is constantly subjected to extreme weather or stored outside, you will likely need to clean it more often to avoid a layer of dirt and protect its paint.
No, you cannot use ordinary car wash soap or dish soap on your RV. As they go, however, these soaps can also strip the car’s protective wax (just what you don’t want) and ruin the finish. Make sure you always use soap that’s made for RVs, so you can be sure you’re not going to harm the surface.
Yes, it is highly recommended that you wax your RV after washing it. RV-specific wax also guards against UV rays, rain, and dirt, so that the paint is easy to clean between washes. It also leaves the exterior of your RV shiny and smooth.
Your RV tires and wheels: when you clean your tires and wheels use a tire cleaner and another brush for the rims and tire walls. Also don’t neglect to clean around the edges to remove brake dust and grime.
You should have a high-pressure hose, soft microfiber cloths, the correct soap (such as RV-specific soap) for the job, long-handled brushes for hard-to-reach areas, a tire cleaner (the tires have a big surface to clean), and a microfiber towel or a squeegee for the final, shiny drying step. These things will aid you in cleaning your RV without harming the surface of your RV.
Certainly, you can wash your RV in the winter, but the temperature is something that you need to consider. Don’t wash you RV if the temperature is below freezing. The water will freeze and could cause damage. If you are washing it in the cooler months you need to make sure that the RV dries all the way and quickly to avoid ice from forming.